When we prepare sol and mi, we're asking students to interact with this element before they realize its name. Instead of simply asking students to memorize the sound, we're asking students to use sol and mi to sing, play, improvise, and more. Then when we add the name, the name has meaning because students know the element so well.
Here are some of my favorite ways to prepare sol and mi.
1. Play the Apple Tree game
Games are one of my favorite ways to prepare a melodic element. We have a few variations of the game, Apple Tree in my room. Here is how I use it for preparing sol and mi:
Play the Game: First we sing and play like normal. If you’re not familiar with the game, you can get directions here.
Find High and Low: After I know we can play the game in our sleep, I’ll ask students to notice the high and low sounds in Apple Tree.
Sing with Solfege: We’ll sing the song with modified solfege hand signs I use for this grade: sol is hands on head, mi is hands on shoulders. We always practice this sitting down before we apply it to the game.
Change the words: Then we sing the song with “high high low, high high low” in the place of “apple tree, apple tree” while we play the game. (The rest of the song is sung on regular text.)
Teaching Tip: This game works great for rhythmic elements as well! When you play the game, insist that students keep a “steady beat in the feet” to reinforce other rhythmic concepts they’ll use later. Since the students like to run when they get near the trees so they don’t get caught, it’s important to set this expectation at the beginning.
2. Improvise a melody to a known rhyme
The minor third interval is so natural in a child’s world that this can be done easily. Choose a rhyme your students know well - maybe one from a previous grade. Bee Bee Bumblebee is a great one to use since students already play the game after Burnie Bee in my classroom. (Read more about my songs for teaching sol and mi here.)
I was nervous to try this activity at first; I thought students might not understand what I was asking them to do. However, I have found that if I say, “now try it with your singing voice” students can do this task very naturally.
Teaching Tip: Keep in mind that students might want to add a whole step above Sol (La) into their songs. This Sol Mi La tone set is so naturally occurring that students might not even realize they are adding an additional pitch. I try to correct this the very first time I hear a student add La to a Sol Mi song.
3. Write down your melody
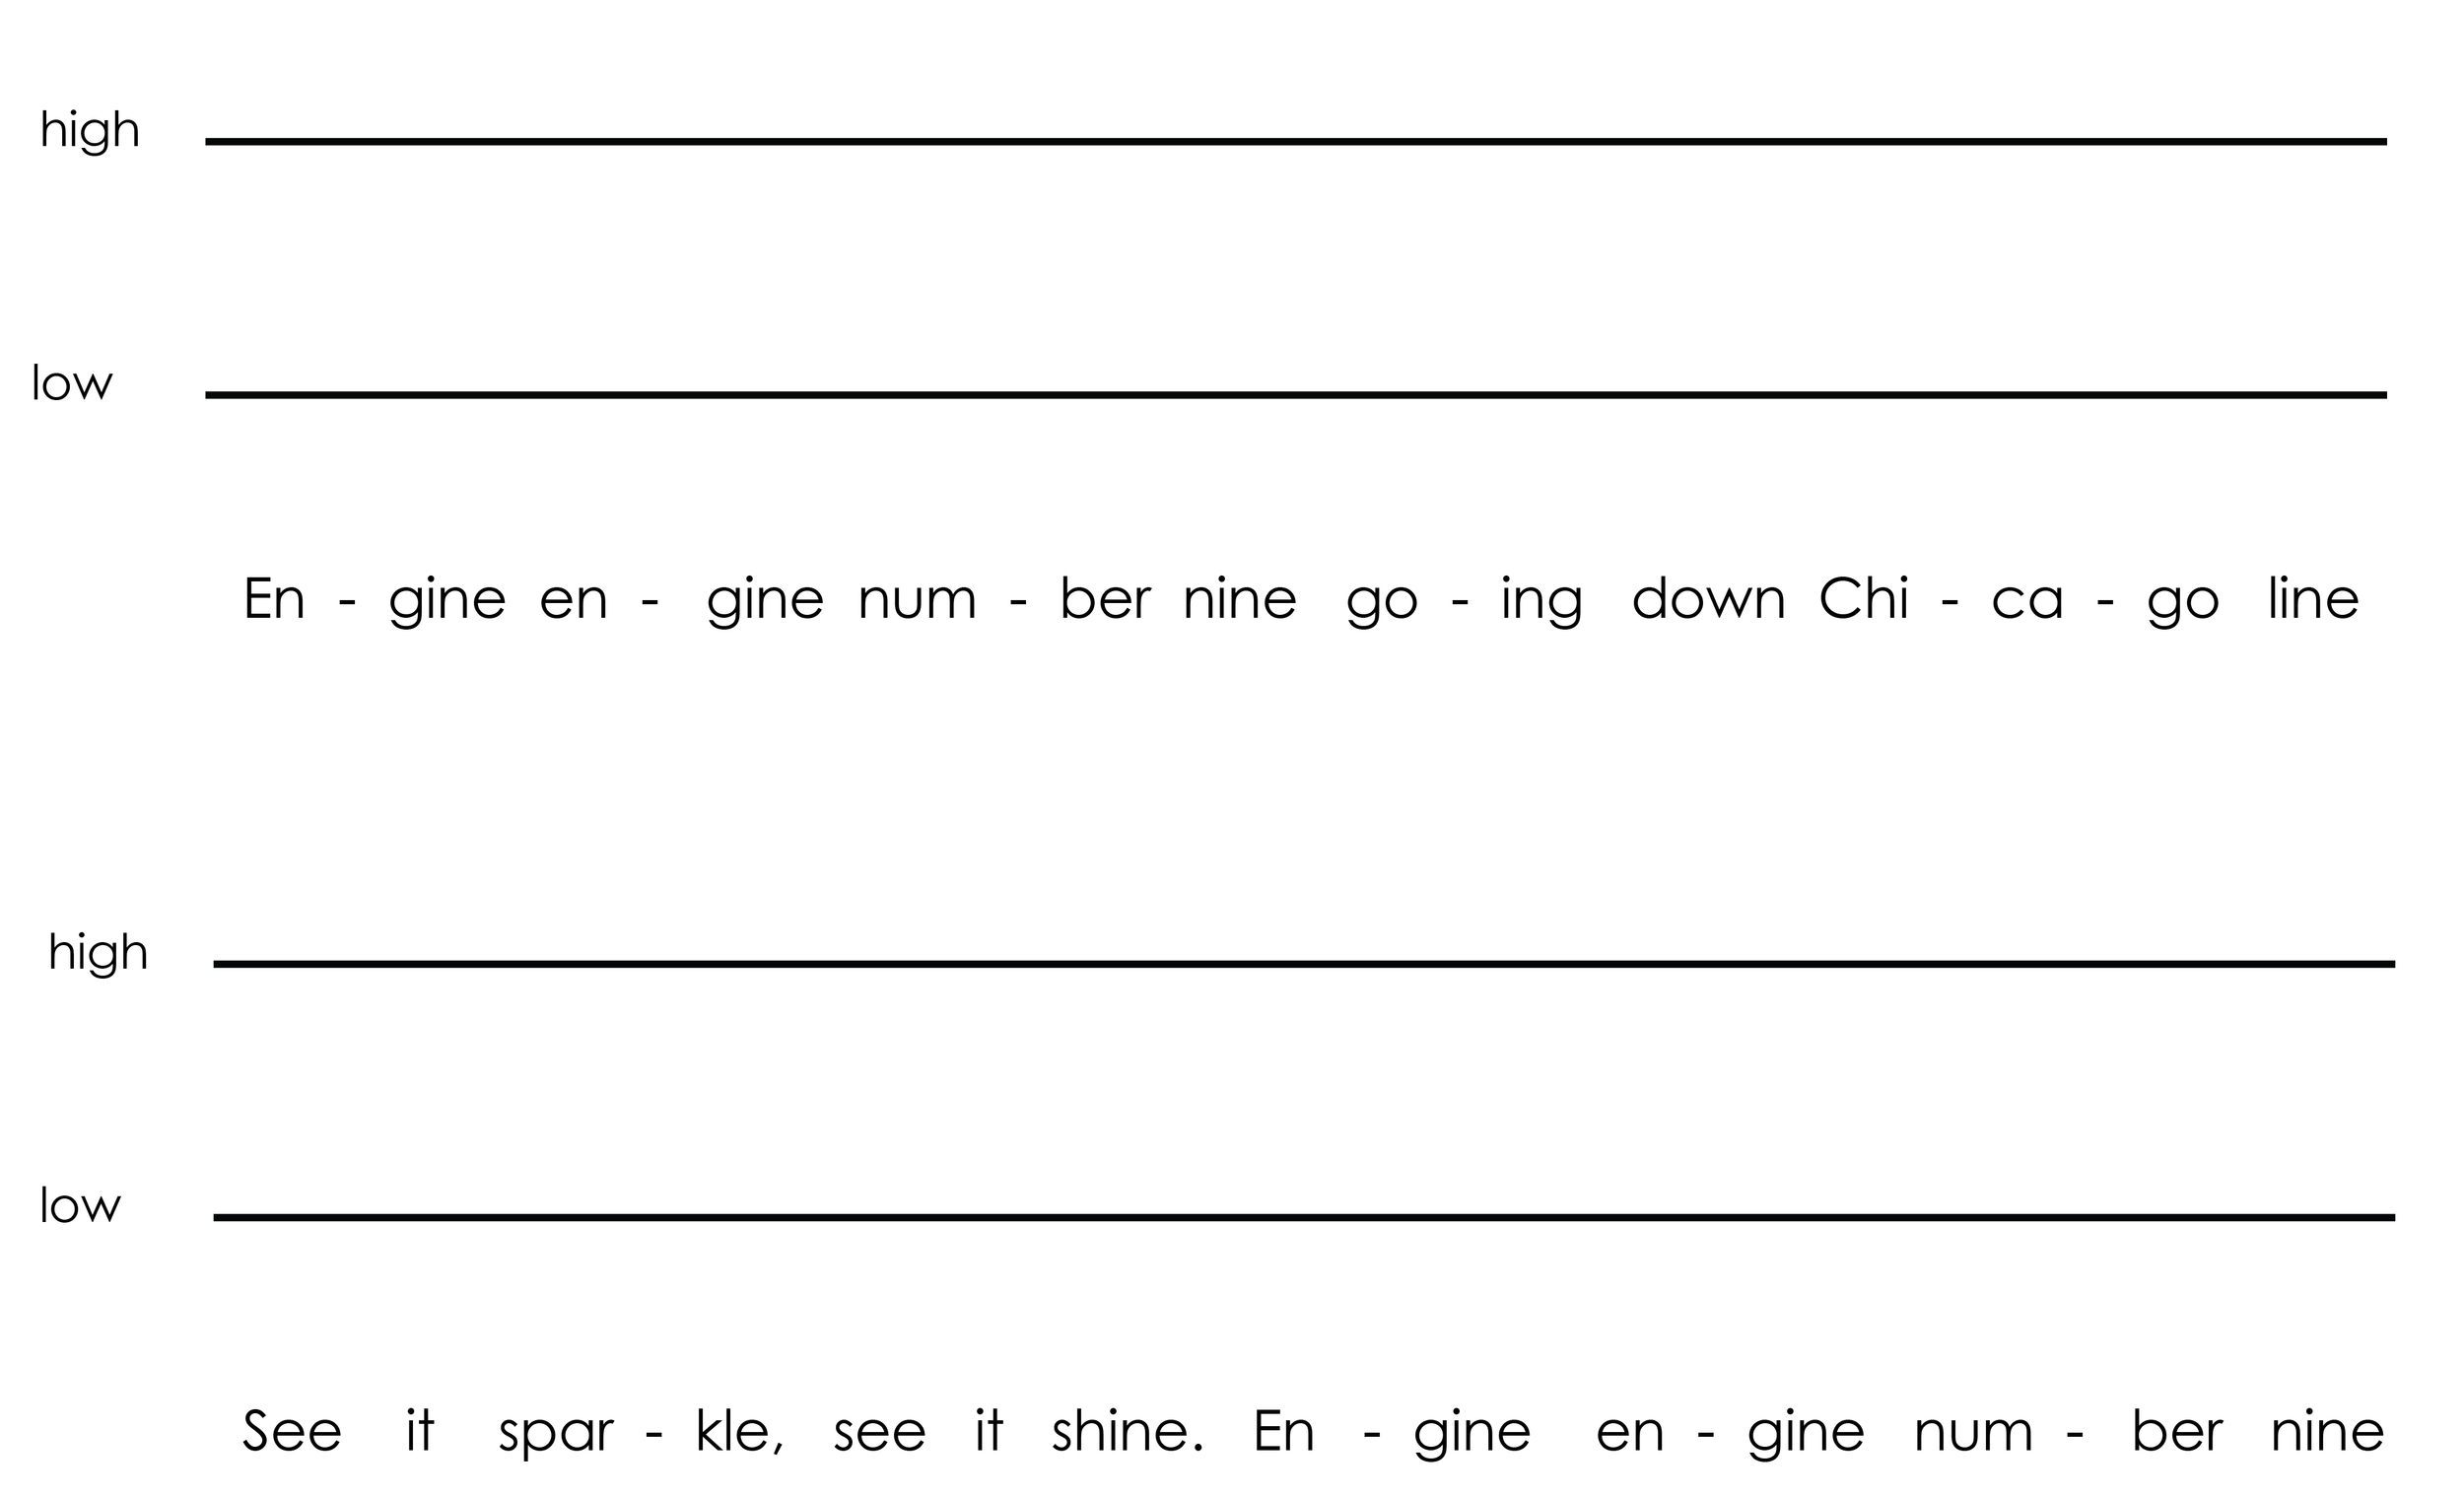
After students have created their melody, ask them to write it down. You could do it as a class, or have students do it individually using the printable below.


You might choose to do the entire rhyme, or only the first line. I’ve included both options in this free download.
Another common rhyme to use is Engine Engine Number Nine. I've thrown that in there for you as well!
Just cut out the icons (or get a parent volunteer to cut the icons!). I also recommend laminating the staff paper to make it last more than one class!
Both sets of printables are totally free here!
4. The case of the missing notes
My students love this activity!
The teacher writes down the melody to one of the songs students learned from this post, but leave a few notes out. Tell the students some of the notes have gone missing, and the class needs to help find them.
Again, this activity could be done as a whole class or as individuals for assessment. I recommend doing this activity together before an individual assessment.
Teaching Tip: When doing this activity as a class I find it helpful to present the problem, and then have students turn and work with someone next to them to figure out the missing notes.
Young musicians are capable of so much! They can sing, play games, improvise, and compose easily and musically.
These some of my favorite ways to prepare the first melodic interval that will lead to many more musical discoveries.
Enjoy!


