Zapatitos Blancos: One Rhyme, Three Processes:

One of the joys of a repertoire and concepts-based curriculum is that we get to imagine songs and rhymes through many different lenses. This is what allows us to extend a song across several lessons in a single grade-level, and as we’ll talk about today, how we can extend a song or rhyme across multiple age groups.

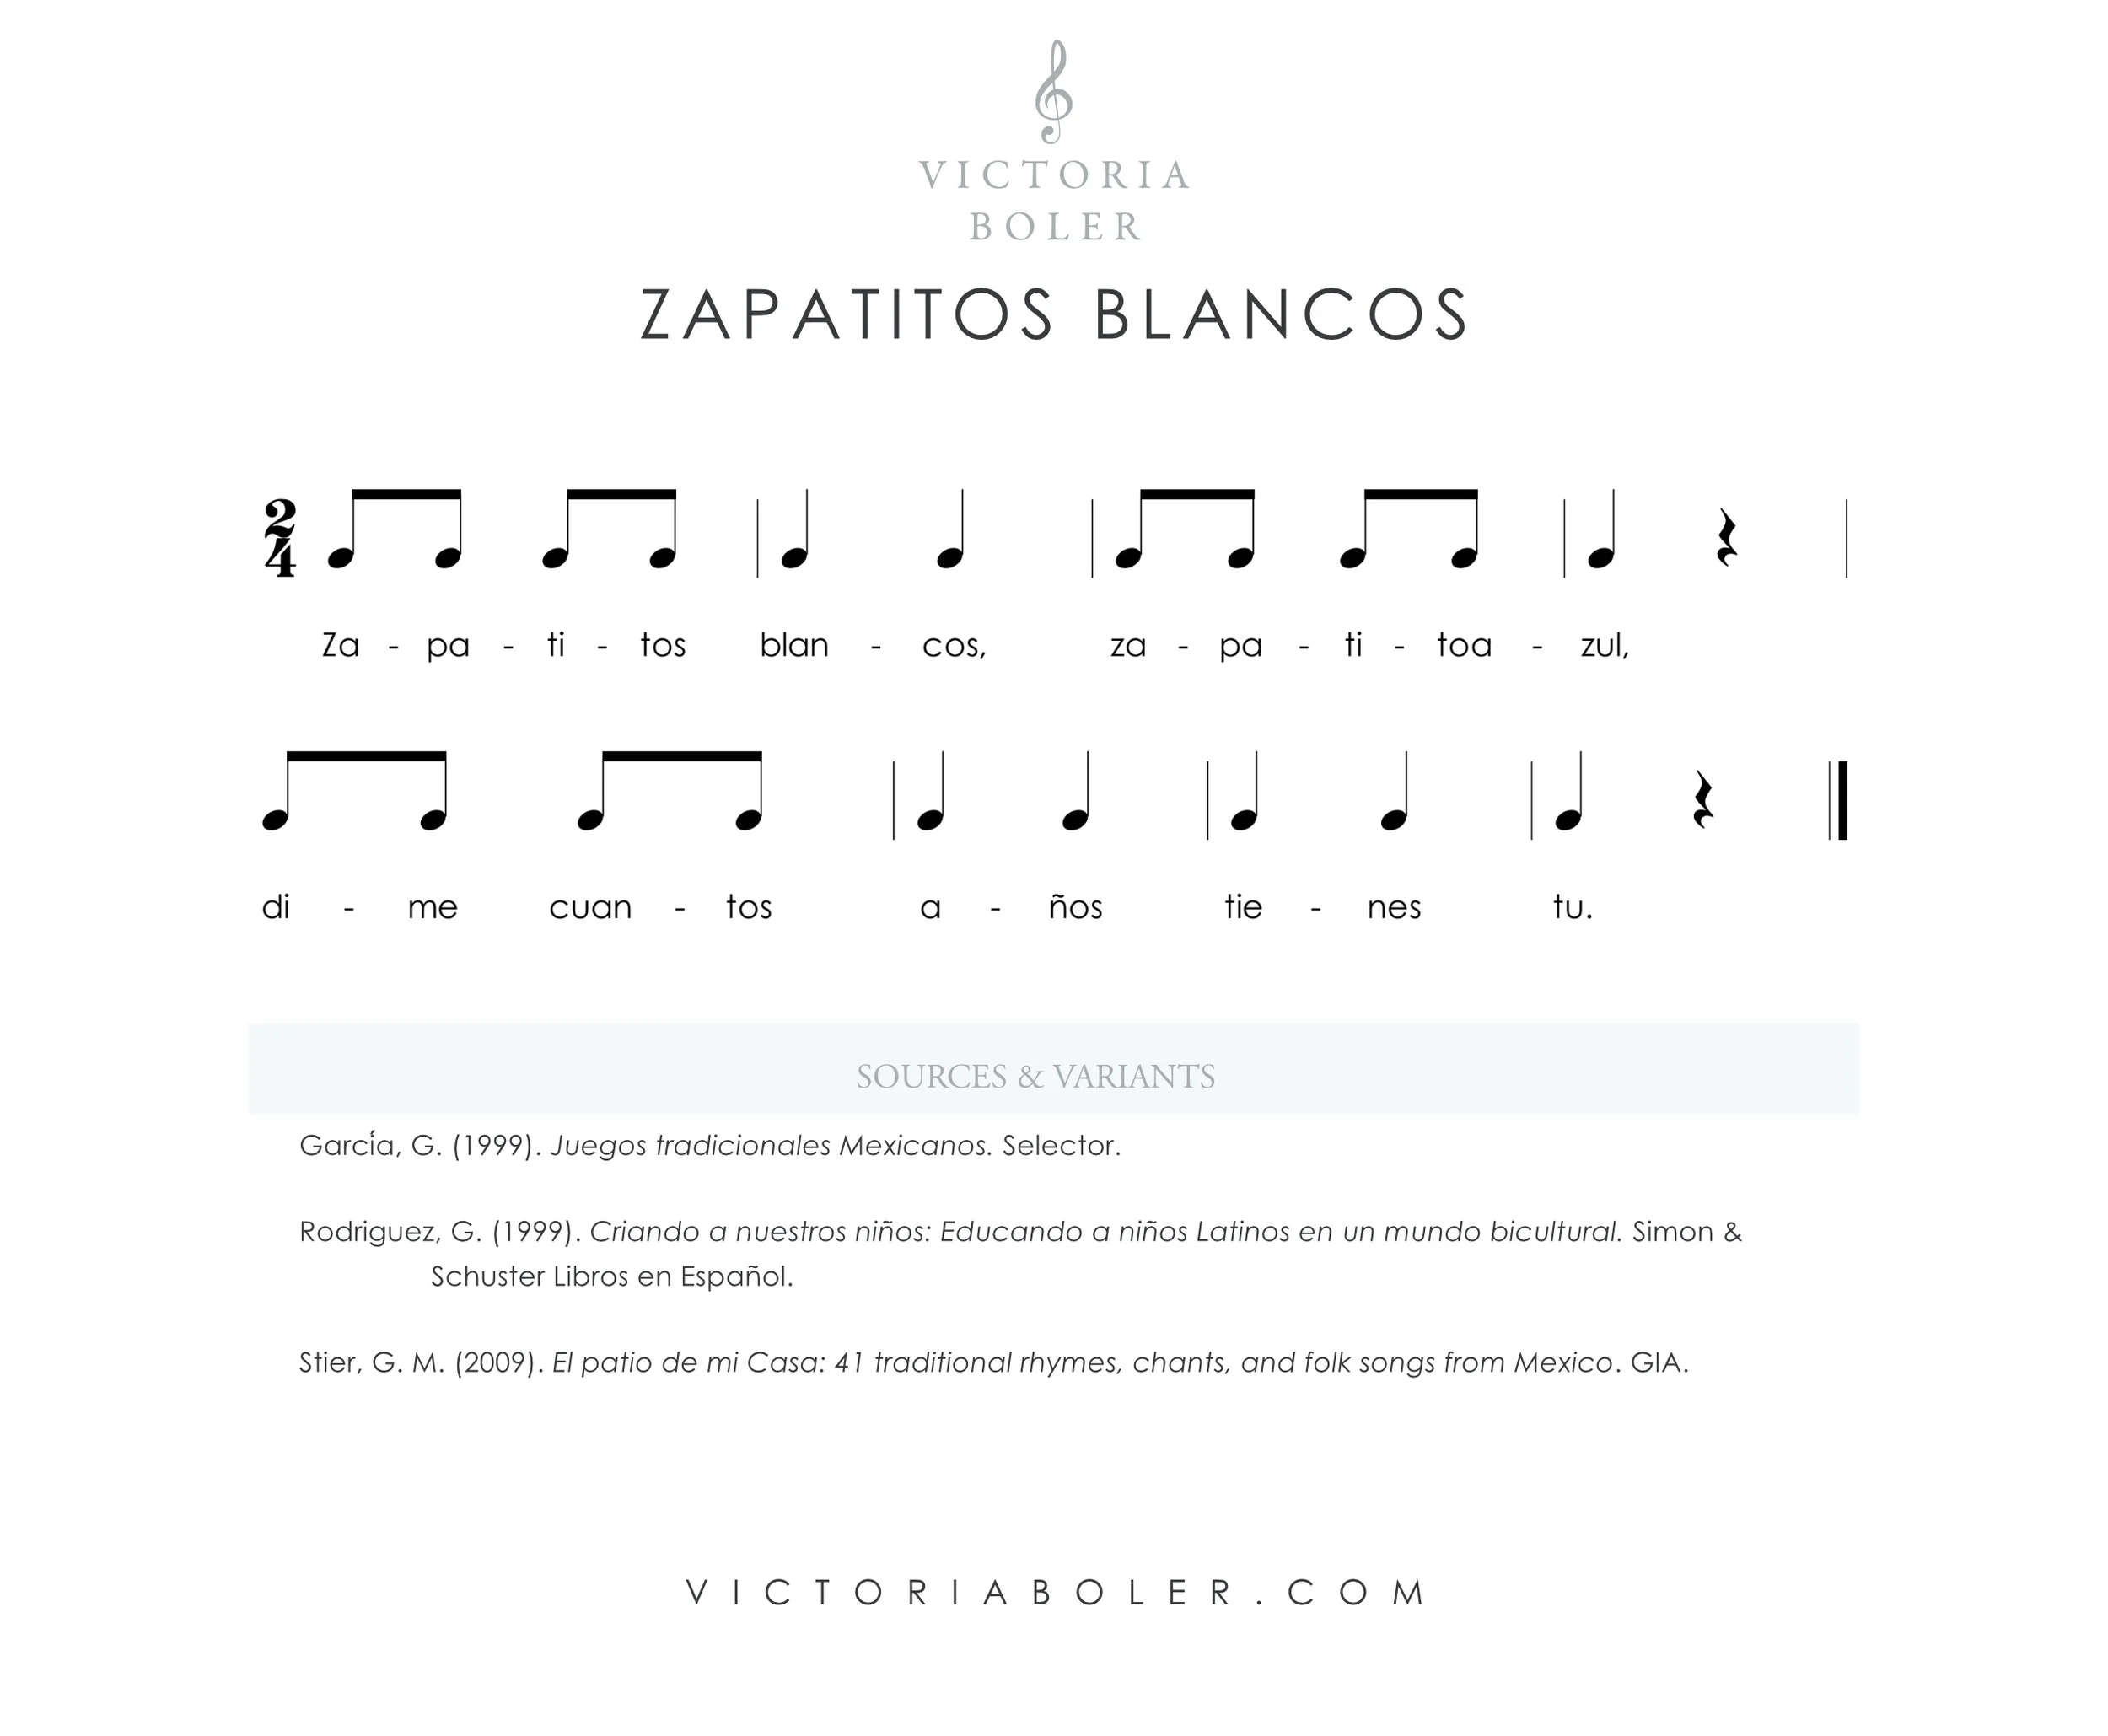
Today we’re working with the Mexican children’s game, “Zapatitos Blancos.” This game is a hit from Kindergarten (and younger) all the way through 5th grade!


Zapatitos Blancos

Importantly, this game can stand alone as its own musical experience. Speaking the rhyme and playing the beat-passing game could certainly take up several lesson segments on its own!

To play the game, students sit in a circle with both feet extended.

One player in the middle pats a steady beat around the circle, tapping each person’s shoe as everyone speaks the rhyme. On the last beat of the rhyme, the person on whom the beat lands says how old they are. The beat continues around the circle for however old the student is. (For example, if the student is seven, the beat passes seven more shoes.)

When the beat lands on the final shoe, that person’s foot is eliminated from the game. They tuck it underneath them, out of the circle, so one foot is still in the game and one foot is out.

Continue through rounds as time allows.

Introducing the Rhyme & Game

Students can interact with the game to this rhyme at a few different levels in the first introduction. They might point around the circle with us as they listen. They might make a mental guess about what shoe the beat will land on. They might speak the numbers at the end.

When we introduce the game, the teacher sits in the middle of the group and points around the circle of shoes. Asking questions between each round is a great way to help students develop their own list of curious questions when they hear a new song or rhyme. 

  • What do you notice about our rhyme? 

  • Are there any words you recognize? 

  • What do you think our rhyme is about? What makes you think that? 

  • What else do you notice? 

After several rounds, students may have pieced together some of the translation with known vocabulary words like “blancos,” “azul,” “anos,” and “tienes.” 

In other situations, students may already know this rhyme and game from their own childhoods! If it’s already a known rhyme, this is a good time for students to share (if they would like to) how they learned it and who they play it with.

Let’s explore three different ways we might use this rhyme in an active music room: steady beat, form & movement, and improvisation.


  1. Steady Beat

Steady beat is a natural curricular focus for this rhyme, given that the game itself is dependent upon a steady beat! After students know the game itself we can add a few layers of steady beat experiences in the preparation stage. These activities can be appropriate for kindergarten or first grade musicians, or whatever age group is working on steady beat.

Passing games take practice! Especially with young musicians, these are skills we can help develop through intentional scaffolding. Read about scaffolding passing games here.

“Mix & Match” Beat Development Activities

Unlike the activities we’ll discuss for older grades, these experiences serve more as a “mix and match menu” of steady beat development experiences. These interactions can last multiple weeks!

Though physical, aural, and visual preparation are often inextricably linked, we can highlight these skills in focused invitations.

Physical Experiences:

We might use any of the following physical experiences on their own, or we might choose a few to layer on each other as students are ready.

Speak the rhyme and play the game. When students are out…..

  • The eliminated student and the teacher play a steady music on a tubano in the next round of the game

  • The eliminated students (without the teacher) play steady music on a tubano

  • The eliminated student points steady music on a shoe or shoe icon

  • The eliminated students tracks four shoes or four shoe icons

Aural Experiences:

We can pair or alternate some of the physical experiences with aural experiences as well. Here are some options:

  • Students inner hear the rhyme and point around the circle. Do all students end up on the same shoe at the end?

  • Ask: As we point around the circle, does our pointing speed up, slow down, or stay the same the whole entire time? Speak the rhyme and play the game, then students turn to a shoulder partner to discuss.

  • Ask: How many steady points do we do in our whole rhyme? Students speak and point around the circle while counting in their heads.

The game, the physical activities, and the aural activities complement each other as students develop beat awareness and beat-keeping skills over time!


Form & Movement

Depending on your students, these activities can be appropriate for 2nd grade musicians.

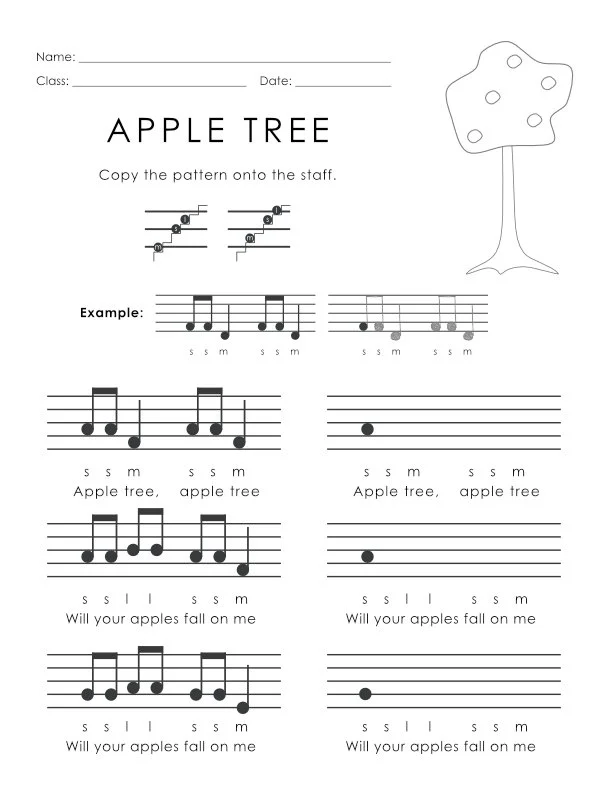
The movements in this particular form and movement sequence correspond to one sound on a beat, two equal sounds on a beat, one sound on a beat followed by a beat of silence, and one sound elongated over two beats. 

These activities do not have to involve standardized Western notation, though they could! This will depend on where students are in their process of linking aural awareness to visual representation of sounds.

Experience 1: Movement exploration 

In the first experience we’ll introduce students to the B section of the rhyme, and explore shoe movements that we’ll build on later. Everything is predicated on an initial experience of speaking the rhyme and playing the game.

Zapatitos movements:

  • How could our shoes move?

  • The teacher models turning fingers into shoes and speaks: 

    • Step step step step zapatitos step step. Motion for students to echo

Movement brainstorm:

  • Ooooo we can tiptoe. But I’m thinking of another way shoes can move… Oh I know! We can ….. 

    • (speak) Sliiide, sliiiide, zapatitos sliiiide. Motion for students to echo 

  • At this point we might transition to staying seated but putting our feet out in front of us so students can move with larger muscle groups.

  • That was fun. I’m imagining something else… let’s stay seated and use our real shoes tooooooo…. 

    • (speak and move feet) Step step, step step, zapatitos, step step. Motion for students to echo.

  • After a few rounds, students suggest their own motions and the class tries them out

Experience 2 

In the next class, or whenever students are ready to move on, we’ll start by reviewing our previous experience, and then extend the previous experience by asking students to come up with their own movement words in the B section.

Review previous class:

  • Speak the rhyme and play the game

  • Review ways our zapatitos can move (step, tiptoe, slide, etc.).

  • Ask students for suggestions of words to use

Non-locomotor movement:

  • Choose one movement for our zapatitos from students’ suggestions. Speak the rhyme while staying in place and stepping a steady beat. As a B section, continue to stay in place but add shoe movements: 

    • Example: Twist twist, twist twist, zapatitos, twist twist or Waddle waddle, waddle waddle, zapatitos, waddle waddle, etc.

  • Try out several different student suggestions of movements.

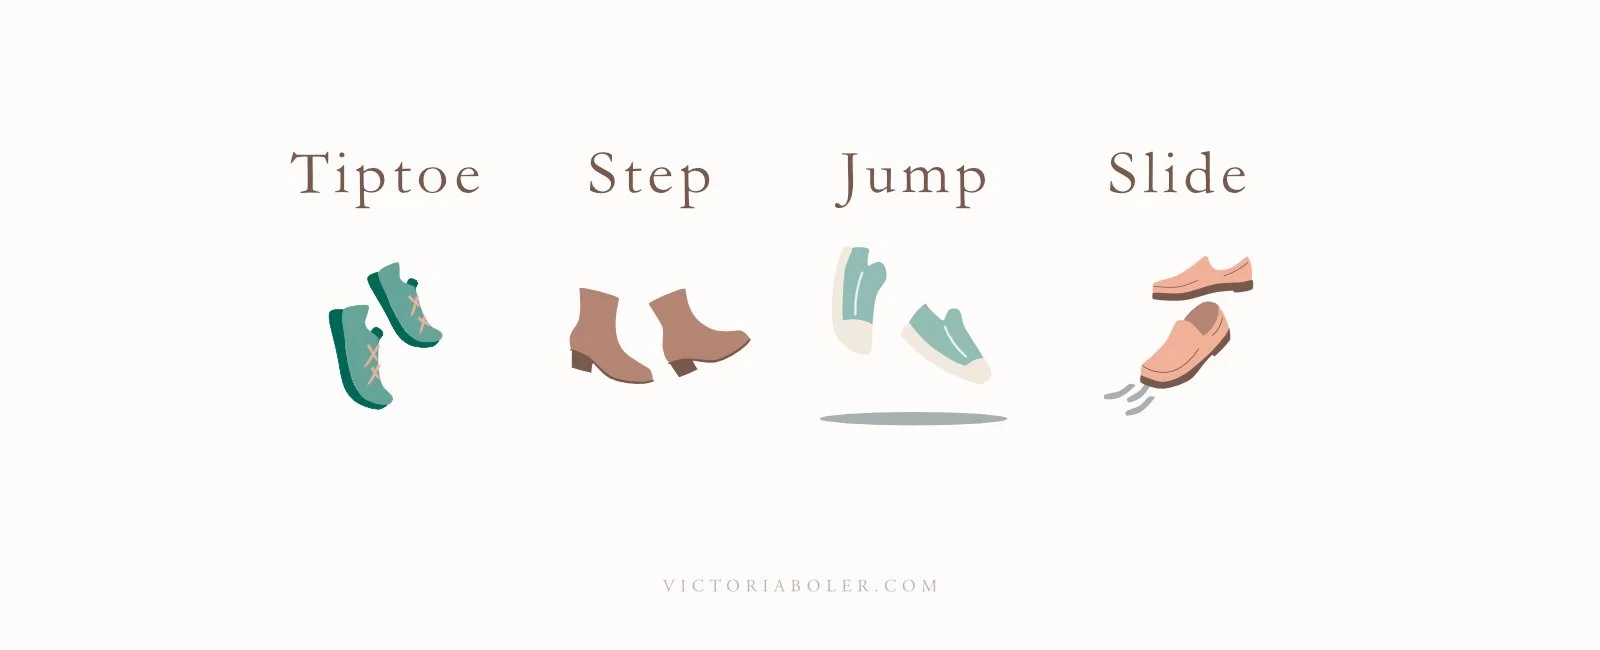
  • Eventually narrow options to tiptoe, step, jump, and slide

Experience 3

When students are ready to move on (in the same class, or in a following class) we can explore traveling zapatitos after reviewing the previous experiences as necessary.

Locomotor movement: 

  • All students speak the rhyme while standing in their spots and stepping a steady beat. A few students model how to move around the room in open space while speaking the rhyme. 

    • The class discusses whether or not the students stayed in open space the whole time, and if they made adjustments to where the other students were as they were moving. 

    • Repeat as necessary with different students and student groupings.

  • All students speak the rhyme while moving around the room in open space. At the end of the rhyme, the teacher displays a B section. Students stand in place and perform the stationary movements. 

  • Repeat with other movement options.

This movement activity is versatile - we can circle back when students are working with standardized Western notation, or leave the experience here. Importantly, activities like this involve students in creative musical thinking as we wonder how our shoes can move and then extend our ideas to locomotor movement and improvisation within specific parameters.


Rhythmic Improvisation: Body Percussion & Barred Instruments

This activity is from the 2022 - 2023 Planning Binder curriculum, in the Older Beginners concept plan. These experience happen after students have spoken the rhyme and played the game. This is also not students’ first experience with improvisation.

These interactions also begin with movement in open space, similar to the activities in the previous section.

Experience 1:

After students have spoken the rhyme, played the game, and clapped the rhythm of the words, we can extend the rhythm vs beat work by asking them to clap the rhythm of the words while stepping the steady beat.

Rhythm vs Beat:

  • Clap the rhythm of the words while stepping the steady beat in place

  • When students are successful doing this in place, they can make their movements travel around the room in open space.

Echo Improvisations:

  • Students step the beat and clap the words in open space, then stand still as the teacher claps eight beats. Students echo, then speak the rhyme and move in open space again.

Experience 2:

When students are ready, we’ll extend the traveling rhythm vs beat work to also incorporate some improvisation.

Review:

  • Speak the rhyme and play the game.

  • Review walking around the room in open space, stepping the steady beat and clapping the rhythm of the words

Echo Improvisations:

  • Students step the beat and clap the words in open space, then stand still as the teacher claps eight beats. Students echo, then speak the rhyme and move in open space again.

Improvise a Response:

  • When we see that students have the flow of the activity, we can add another layer of improvisation by asking students to improvise their response instead of echoing the teacher

Aurally Identify:

  • After several repetitions, students choose their favorite one of their improvisation responses. Lead students in playing their improvisation a few times so it’s memorized.

  • Students figure out their rhythm on rhythm syllables by thinking of how many sounds they are using on each beat.

  • When students are ready, they teach it to a nearby friend.

Experience 3:  

The previous experiences can take several classes, or perhaps one class, depending on the students! If students are ready for an extension, we can transfer our improvisation experiences to barred instruments.

Review:

  • Review speaking the rhyme while walking in open space, then improvising their own response to the teacher’s rhythm

Take a Walk:

  • For this activity, instruments can be set up in any mode or tonality - this is a nice time to explore a mode students haven’t had much experience with. D Dorian is a great option for this - we can set up in D dorian by taking off the lowest C.

  • Seated in pairs behind a barred instrument, students take turns “walking” their mallets up and down the bars. If we imagine our mallets are little white and blue shoes, what does it sound like to gently step or tiptoe up and down?

Bordun:

  • Both partners speak the rhyme together. As they speak, one person claps the rhythm of the words and the other plays a steady beat chord bordun.

  • As a B section, the clapping partner improvises eight beats and the partner behind the instrument gently clicks their mallets to echo their partner’s improvisation.

  • Switch jobs so both partners have a chance to play the bordun, and to improvise a clapped rhythm

Barred Instrument Improvisation:

  • Repeat the activity. This time, the clapping partner improvises an eight-beat rhythm and the partner at the barred instrument improvises a new melody to their partner’s rhythm.

  • Switch jobs so both players have a chance to improvise a rhythm and a melody

With each new lesson segment, we build and extend on previous experiences. This is one of the keys to helping older beginners be successful with improvisation. Transferring improvisations to barred instruments adds another layer of student choice and peer interaction. The collaboration in this activity is part of what makes it so enjoyable for older beginners!

Rhythm, Movement, & IMPROVISATION

A game like “Zapatitos Blancos” can hold our attention for many weeks! There are endless possibilities for this rhyme across multiple grade-levels, and woven throughout multiple classes.

When we use repertoire as a jumping-off point for developing knowledge and skills, there are opportunities to explore ideas like steady beat, movement, and improvisation through a play-based lens.

Apple Tree Writing Activities using Depth of Knowledge (DOK)

If we were to walk into an active music room, we would see students singing songs, playing games, moving, and playing instruments, among many other things.

Where does writing fit into an active music room? In addition to copying notation, how can we use writing notation as a part of the learning process so students are equipped to showcase the results of their learning?

Today we’ll explore possible ways to go deeper with writing activities in an active music room, using a framework called Depth of Knowledge.

All the resources in this blog post will be available to download at the bottom of the post.

Let’s jump in!


Writing Music: Beyond Paper and Pencils

For our purposes today, I define writing as using a visual symbolic representation of an aural event that can have a shared meaning between musicians. 

Most of the time in music, we are familiar with writing in the context of using a paper and pencil to notate a musical expression through standardized Western notation. 

That is certainly a form of writing students will use in an active music class! Extending this idea, however, we have many opportunities to show how musicians depict aural sounds through visual media.

Standard Western notation on a piece of paper is one out of many valuable pathways of visual expression. Let’s look at other ways of showing a visual representation of an aural event, specifically with melodic and rhythmic phrases.

Melodic Writing: 

  • Finger in the air to paint melodic contour 

  • Draw the melodic contour shape on the board 

  • Drag icons on the board to show the melodic contour 

  • Body solfege signs and solfege hand signs 

  • Stick notation with solfege letters underneath 

  • Hand staff 

  • Showing stems up or down with a fist and palm 

  • Solfege buttons 

  • Popsicle sticks 

  • Five-line staff worksheet with pencil or other manipulatives (erasers, bingo chips, etc.) 

Rhythmic Writing: 

  • Finger in the air to write rhythms or show long and short sounds

  • Drag iconic notation over steady beat strips 

  • Popsicle sticks 

  • Human rhythms 

  • Rhythmic building blocks 

  • Rhythmic building blocks 

  • Paper and pencil 

Which Way is Best?

Since there are many legitimate ways to notate music, the question of which one to use may not be dependent on which one is the best. Instead, it will likely come down to the purpose of the activity.

Do we need a quick, tactile way to reinforce a visual representation of long and short sounds? Using our fingers to trace long and short lines in the air can be a great way to accomplish this. Are we asking students to aurally identify the solfege to a known song? If so, we might ask them to drag icons on the board to show the melodic contour. Are we interested in doing an extended composition activity across multiple lessons, where students will share their work with another group? Writing with a paper and pencil is a great way to preserve a musical thought and save it for another day.

Not all of these examples use a paper and pencil, but they do link a sonic event with a visual representation. The use case for each writing option will depend on the function the activity needs to serve in the overall learning process.

Depth of Knowledge (DOK) and Writing Activities for Elementary General Music

While we use each of the activities above to develop the same skill (writing), we can ask students to show a different DOK, or depth of knowledge depending on how the activity is implemented.

What are the Depth of Knowledge levels?

Depth of Knowledge is a framework we can use to help ascertain the level of understanding students have about a given topic. The levels range from memorizing information (level 1) to transferring and adapting knowledge in a new situation (level 4). Each level of knowledge goes deeper into the cognitive demand students need to take on in order to complete the learning task.

Let’s look at the levels and apply them to a potential music education setting, focused on writing.

  • DOK 1: Recall and Reproduction - Students acquire knowledge

    • When students write music, DOK 1 activities might look like copying notation on the board or on a worksheet.

  • DOK 2: Skills and Concepts - Students use their knowledge to solve problems 

    • As students write music, they might be asked to fill in a missing measure with the correct rhythm, or transfer a melody to a new placement on the staff 

  • DOK 3: Strategic Thinking -  Students use their content knowledge to analyze material 

    • In a music writing activity, we might ask students to find the mistake in our notation and correct it, explaining their thinking and how they arrived at their answer. We might also ask them to dictate a new musical phrase they have never heard before.

  • DOK 4: Extended Thinking - Students augment their knowledge by thinking about how else their learning might be used in a new situation. This often involves a project that takes up more than one class period, and incorporates other skills or subjects.

    • We might ask students to transfer and extend the use of their content knowledge by notating their own musical ideas.

Apple Tree Writing Activities using DOK

Apple Tree is one of my favorite singing games of all time! Students love the game that accompanies this song, and there are many possibilities for expanding musical understandings and experiences with the simple melodic and rhythmic content.

The Game:

There are many versions of this game! The one I use is played similar to London Bridge:

Two students take hands above their heads to create an arch. The class steps a steady beat in a circle and sings the song, walking under the arch created by the two students. At the last word of the song, “out,” the students who created the arch lower their hands, capturing one student between them.

Potential Writing Use:

There are many ways we might use this song to develop writing skills in the elementary general music room!

Rhythmically, this song lends itself to exploring steady beat, long and short sounds, rhythm vs beat, ta & ta-di, and 2/4 meter. Melodically, we can use this song to develop sol and mi, and sol-la-sol-mi patterns.

Let’s look at some possible ways to link writing activities with the DOK framework.

All of these activities would take place in conjunction with other play-based, active experiences, and not as the sole learning activities in and of themselves.


Rhythmic Writing Activities

These activities range from imitation to creation.

DOK 1: Trace the Melody

After singing the song and playing the game, students sing the song on rhythm syllables and clap the rhythm of the words. Next, with the notation on the board, students use their fingers in the air to trace the rhythm of the song as they sing.


Explanation: I categorize this as a DOK level 1 because students are being asked to copy existing notation. The goal of this writing activity is imitation.

DOK 2: Notating the Rhythm

The teacher speaks a rhythm using apple and tree, or ta and ta-di. Students notate the order the teacher speaks using printed cards with apples, trees, and rhythmic notation.

Consider speaking the known song patterns first (ta-di ta ta-di ta and ta-di ta-di ta-di ta) before moving to unknown combinations.

These cards are available as a printable PDF and a Google Slides presentation at the bottom of this concept plan.


Explanation: In this writing task, students apply their knowledge of sounds on a beat to recreate rhythmic phrases. These patterns move from contextually familiar rhythms (the ones taken from the song) and unfamiliar rhythms (ones the teacher creates). Even though students write unfamiliar combinations, the teacher supplies the correct answer by speaking the rhythm out loud. Further, the cards are supplied for students with the rhythms and rhythmic icons already provided.

DOK 3: Arranging Rhythms

What could we make with all these apples?! Students come up with their own ideas, and then eventually the teacher narrows in to the list on the board:

Apple pie | Apple pudding | Baked apples | Cider

With a partner, students clap the rhythm of the words on the board to figure out their rhythms by ear. With blank cards cut out, students write the text, notate the rhythms in stick notation, then choose an order of cards to perform with their partner.

The image below on the left shows the rhythmic text students will notate. The image on the bottom right shows the accurate notation of the rhythms with stick notation. The image on the right with the correct rhythmic notation would not be displayed during the writing activity.

Explanation: Here, students write unfamiliar rhythm combinations outside the known phrases in the song, “Apple Tree.” Students write the rhythms by ear, without referencing existing notation on the board. They then notate their own order of cards to create a rhythmic arrangement.


Melodic Writing Activities

Let’s look at some possible ways to explore writing melodies based on “Apple Tree.” Like the rhythmic activities, these learning task range from imitation to creation.

DOK 1: Copy the Melody

In these worksheets, students directly copy the melodic fragments from one five-line staff to another. One worksheet has only noteheads. The other includes rhythmic stems.

These are available for download at the bottom of this blog post.


Explanation: I categorize this as the lowest depth of knowledge invitation because students are asked to re-write melodic information already provided on the worksheet. The task here is to accurately reproduce the melodic fragments.

Though both of these worksheets utilize imitation, the worksheet with rhythmic stems in addition to melodic noteheads incorporates more information. Students might choose which worksheet they would like to complete.

DOK 2: Notate Transposed Melodies

After singing the song on solfege syllables while playing the game, students notate the melody by pointing to a hand staff.

Because there is not a clef on this staff, any line or space can correspond to any solfege syllable. This allows students to practice transposing the melody to many different positions.

After students have practice writing the melody in several keys following the slides on the board, the teacher displays the empty hand slide and asks students to notate the melody starting on a new line or space.


Explanation: In this task, students move from copying the melody on the hand staff to transposing the melody to a new location.

DOK 4: Apple Compositions

What might we do with all these apples? Over the course of two or three lessons, students develop an apple composition idea, notate it, practice, and eventually share it with their peers.

Students begin by imagining what they might do with the apples that have fallen to the ground from the song:

We could cut the apples into slices and eat them at a picnic.
We might bake an apple pie.
We could make apple cider - but be sure to blow on it because it’s hot!

When students have their idea, they turn to a partner. Together, both students figure out a way to sing the idea with solfege hand signs and a sol and mi melody, or a sol-la-sol-mi melody, depending on the learning target for the song.

With their melodies created, students are ready to write them down on the five-line staff.


When their melodies are notated, partners can choose if they’ll perform their compositions with one of the following options, or a combination of options:

  • Singing on solfege with solfege signs

  • Singing on text

  • Singing with movements they create to act out the text

  • Singing and playing the melody on barred instruments

After students have had time to practice, groups pair with another group and share their apple compositions.

Explanation: I categorize this task as level 4. Writing is an important part of the task, but it is one piece of the assignment which calls for students to collaborate and perform their compositions. Instead of copying or altering existing notation, students create the melody they write and choose where to notate it on the staff.


When students notate a visual representation of music, they capture a musical moment and preserve it in time. This is one of the many ways we help students communicate musical ideas and move toward musical literacy.

Proficiency in notational writing is a skill young musicians can work on and advance over time. When we design writing tasks through the lens of the Depth of Knowledge levels, we can develop creative writing invitations that bring students closer to notating the sounds they hear around them, and equally important, the music they create themselves.

References & Further Reading:

Aungst, G. (2014, September 4). Using Webb's depth of knowledge to increase rigor. Edutopia. Retrieved February 10, 2023, from https://www.edutopia.org/blog/webbs-depth-knowledge-increase-rigor-gerald-aungst

Francis, E. M. (2017, May 18). What is depth of knowledge? ascd.org. Retrieved February 10, 2023, from https://www.ascd.org/blogs/what-exactly-is-depth-of-knowledge-hint-its-not-a-wheel

McTighe, J., Doubet, K., & Carbaugh, E. M. (2020). Designing authentic performance tasks and projects: Tools for meaningful learning and assessment. Hawker Brownlow Education.