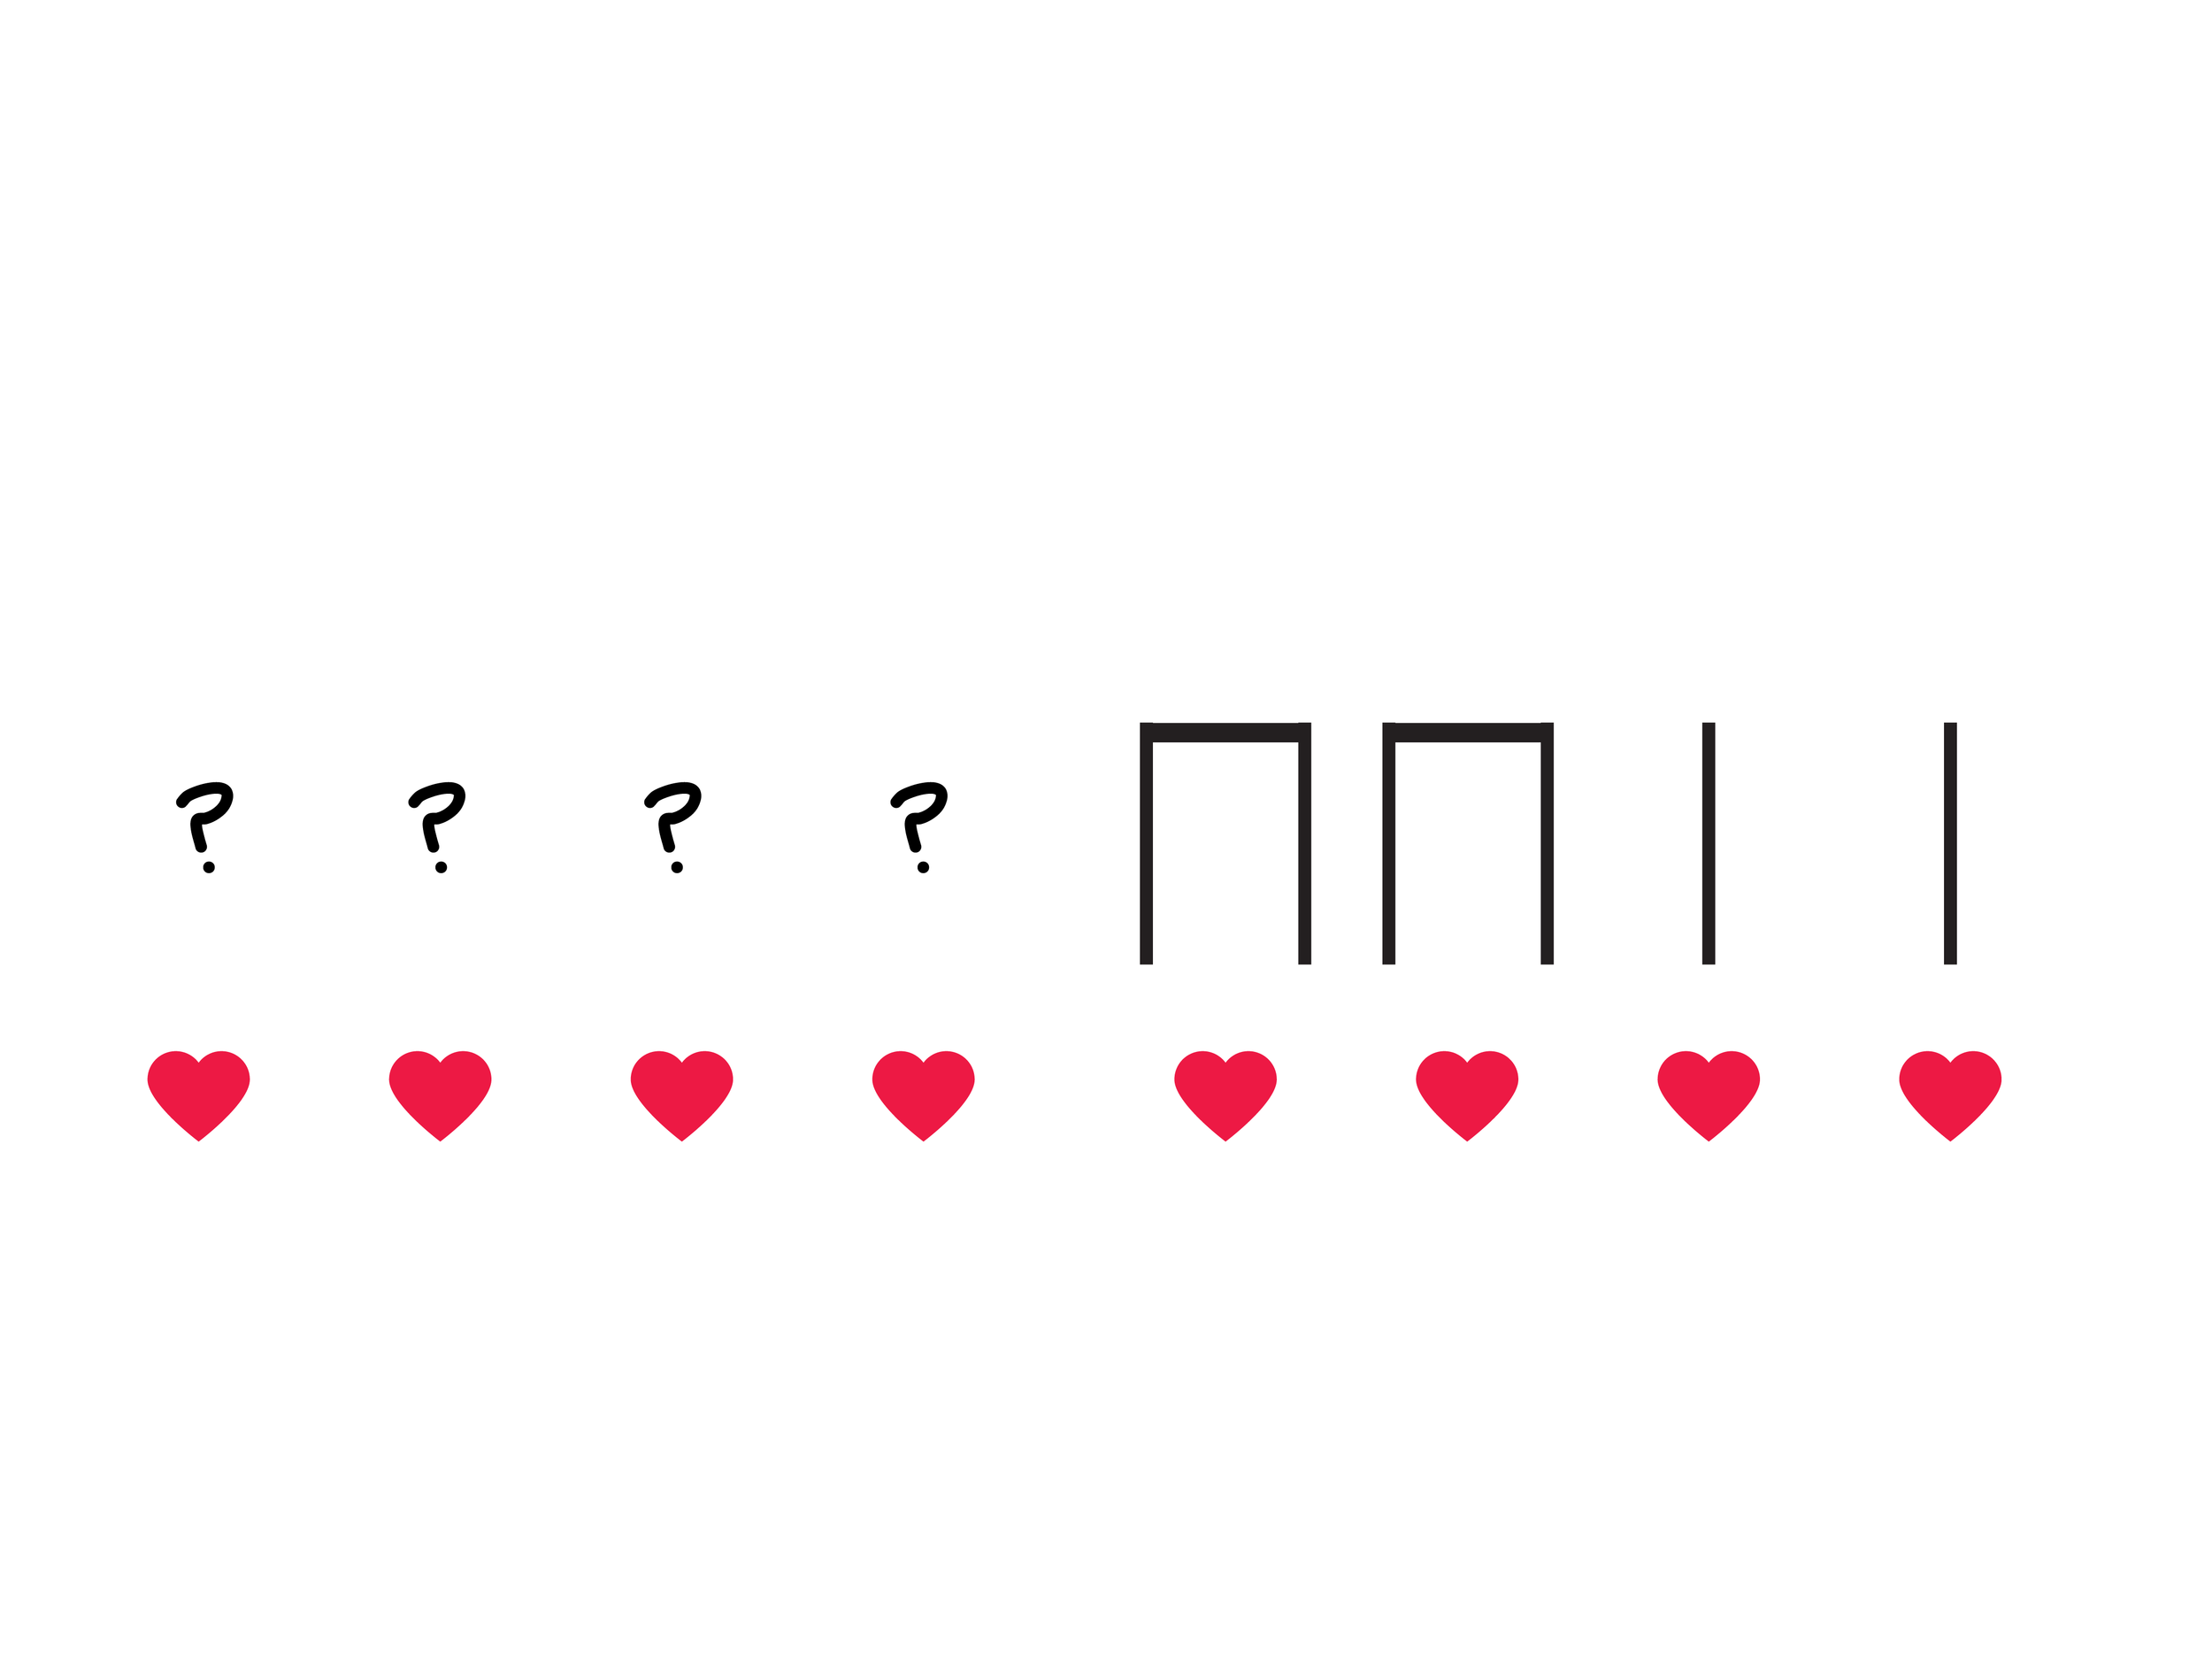
In this post I wrote about some of my favorite materials for teaching half notes.
When we prepare half notes, we're asking students to interact with this element before they realize its name. Instead of simply asking students to memorize the sound, we're asking students to use half notes to sing, play, improvise, and more. Then when we add the name, that name has meaning because students have been given enough experiences to truly understand the element.
This method is intuitive and calls on students to discover music on their own - not just to memorize that a half note gets two beats.
Experience First
The very first step in teaching a new rhythmic element is to play games, sing songs, and speak rhymes that contain that rhythmic element. This first step might not feel like “teaching” at all. And in many ways it shouldn’t. Instead, this stage should feel like play.
I wrote about some of my favorite materials to use for teaching half notes here. Some of my top choices are: Bluebird Bluebird, Listen to the Sun, Seashell, and Who’s That. You can go to that post for songs, plus the directions to games we use in my classroom.
The experiences we give students in this stage are the foundation for everything we want them to do later, so it’s important that we don’t short-change this step. In my experience it’s often one of the most joyful parts of the process as well.
Notice a sound that lasts two beats
Again, this step in the process is crucial, though it may seem simple.
After students have experience moving, playing, singing, and speaking a half note, they’re ready to become aware that they are using a note that lasts longer than a “ta”.
In my classroom, we do this by keeping a steady beat while we perform a known song or rhyme. I’ll pick one phrase and ask students if I sing a word that lasts longer than one beat.
What is the word?
Does it happen more than once?
How many beats does it last?
Through these questions, students guide themselves in understanding what a half note is.
When students have identified a note longer than one beat, we’ll assign it a name. Since it’s a long note, we’ll simply call it “long”.
Explore
After lots of experience with half note songs and rhymes, and after becoming conscious that a note lasts longer than two beats, we’re ready to explore half notes in other ways, like instruments and movement.
Movement
Start by showing these sunbeams. How could students show these sunbeams through their bodies?
In some classrooms you may have all your students create the same shape: standing slanted, and reaching up with vertical arms. This may be especially true if your classroom doesn’t have a strong movement component.
To challenge students, especially if your class doesn’t do much movement, consider inviting students to make the shape without using their arms. In such an open activity like this, I praise students using different levels and body parts.
Instruments
Instruments are another great way to explore half notes.
What instruments might you choose to represent that long sunbeam? What non-pitched percussion instruments can we find that elongate sound to last more than one beat?
Some great options students might discover are:
Triangle
Guiro
Cabasa
Finger cymbals
Crash cymbals
Sand blocks
Wind chimes
What instruments might you choose to show a short sound? Some options students might discover are:
Rhythm sticks
Tambourine
Wood block
Claves
Shaker
Cowbell
Perform the rhyme, Listen to the Sun with instruments and movement. As they speak, students will listen for a sound that lasts two beats. When that sound happens they will either perform their sunbeam movement, or play their two beat instrument. Other class members not moving or playing may choose to speak the rhyme.
You may also choose to have students speak rhythm syllables instead of the text of the word:
“Ta-di ta-di long,
Ta-di ta-di long,
Ta-di ta-di ta ta
Ta ta ta long”
Create a Visual Representation of What You Hear
After all these preparation experiences, students are able to create a visual representation of what they have been singing, speaking, playing, and moving.
Different teachers have different preferences for this part of the process. For me, the significance of a half note is that students are combining two large beats, so I want to show that visually. We do this with a tie.
Start with a half note song students are familiar with (check out songs for teaching half notes here). For this example, we’ll go with “Who’s That”.
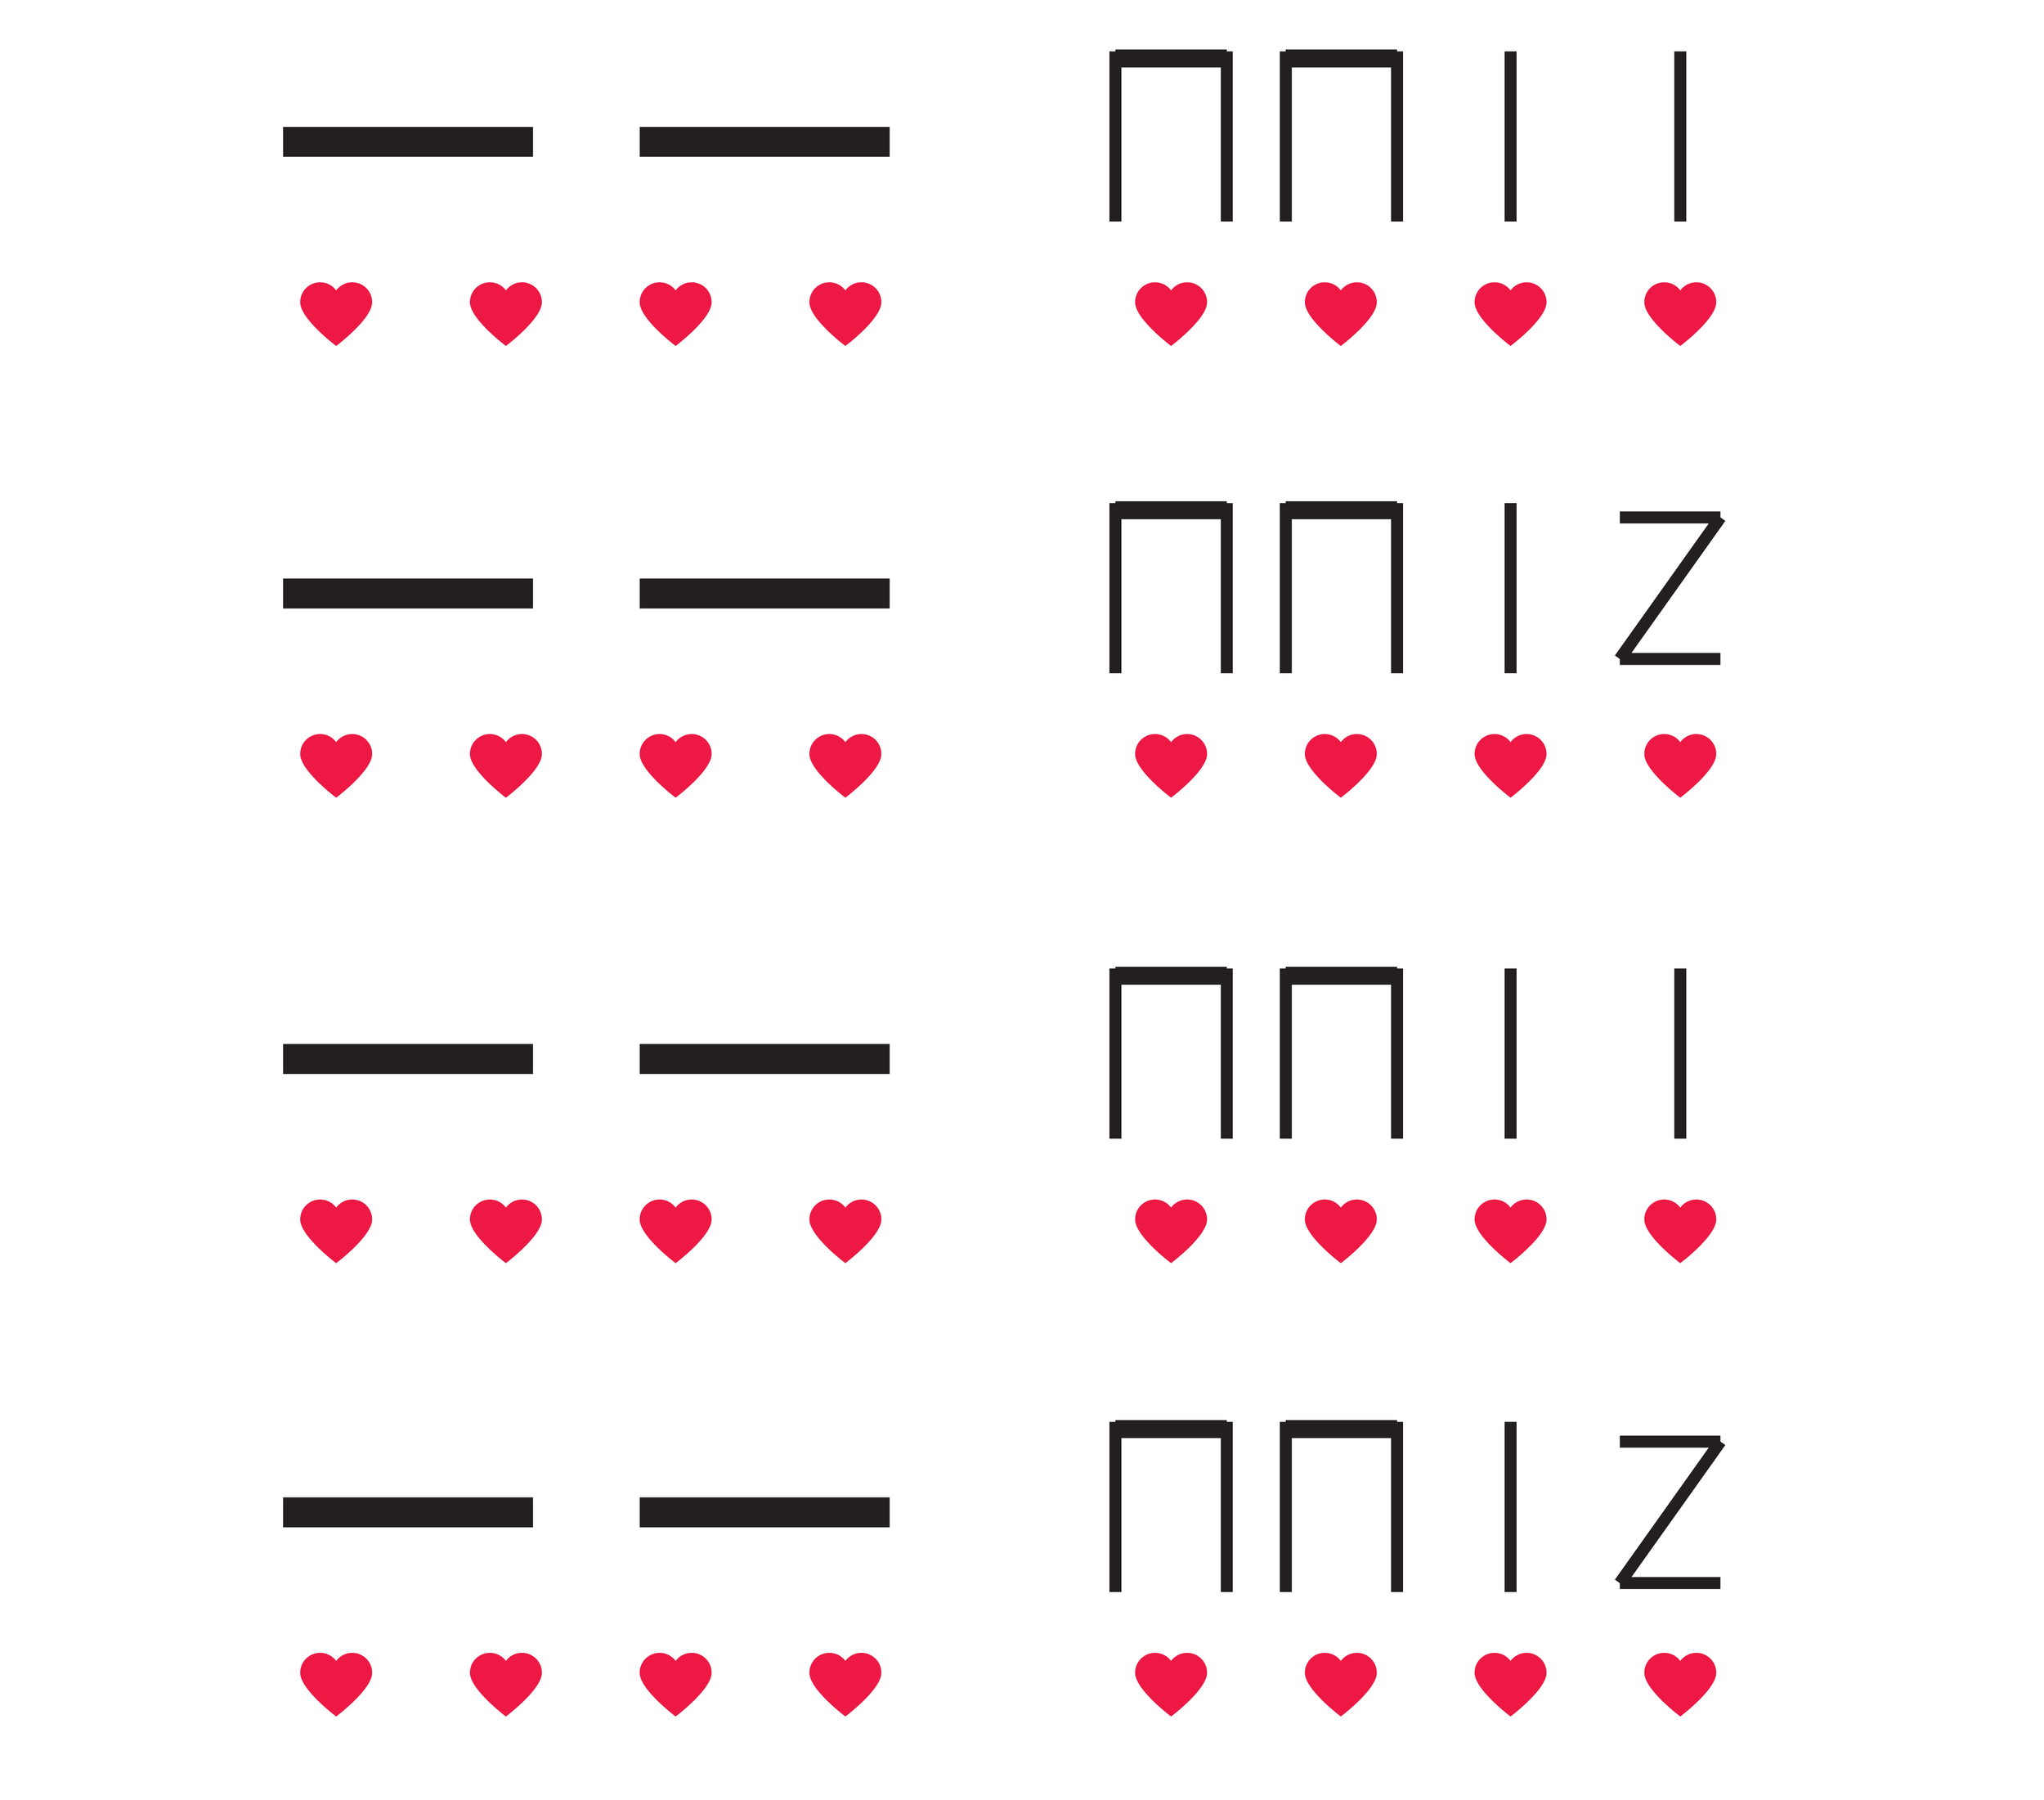
Starting at the last beat, have students help you notate the first phrase of Who’s That. Explain to students that we don’t know what “long” looks like yet - do they have any ideas of how to show it? Remind students that “long” is the length of two ta’s.
Students will likely come up with something that looks close to this:
Since you have a visual, have the students help you notate the rest of the song:
With a visual representation in place, and with students reading their version of half note notation, you can tie two quarter notes together to show that a half note lasts two beats.
Strategies like singing, playing games, moving, playing instruments, and reading notation give students preparation they need to truly understand what a half note is before we add the label.
The next step in the process is to present the real name!


