Let’s Lesson Plan: 1st Grade (Sol and Mi, Quarter Rest)

This lesson plan is based off the 1st Grade February monthly plan in The Planning Binder. You can also grab a free PDF version of this lesson at the bottom of the post.

Let’s jump in!

 
1st Grade General Music Lesson Plan
 

Zooming Out - The Big Picture

Previous Knowledge

When students walk into this lesson, they already have experience singing, playing, reading, writing, aurally identifying, improvising, and arranging the following concepts:

  • High and low

  • Sol and mi

  • La

  • Steady beat

  • Rhythm vs beat

  • Ta and ta-di

The Planning Binder walks through strategies to teach each of these previous concepts in the 1st Grade concept plans.

Long-Term Plans

A scope and sequence helps track what students have learned, and when they learn it.

The scope and sequence below is a small portion of the one in The Planning Binder. This is lesson #18 (look at column B to see the lesson numbers). By this point in the curriculum, students are preparing quarter rest for the third time (column C), and are practicing sol and mi for the fifth time (column D).

1st Grade General Music Scope and Sequence

Song Materials:

The song materials in this lesson come from my concepts and song lists I make at the beginning of each year. This document specifies most of the songs I’ll use to work with each specific musical concept.

Concepts and Songs List for General Music | Victoria Boler

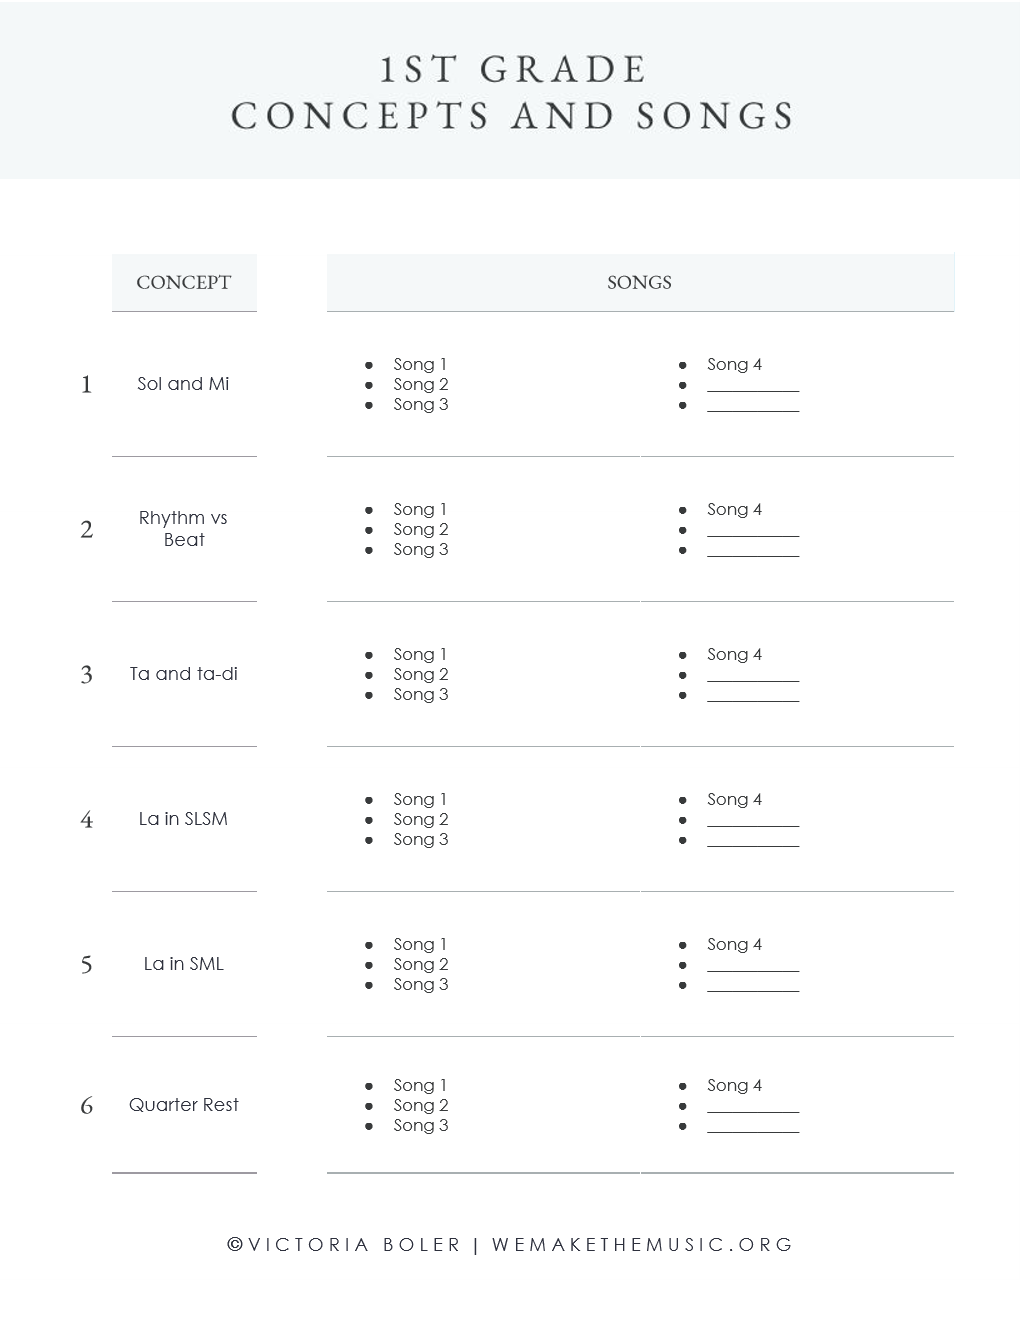
Typically, I use somewhere between four and six songs per concept. Before the year begins, I map out the first four, and leave space to be inspired throughout the year.

This image shows an example of the concepts and songs layout. You can find this filled in document in The Planning Binder.

Having the first four songs in place means that I’m never searching for song materials the night before a lesson. Things are in place in a purposeful, yet flexible, outline.

Here are the materials for this lesson:

  • Acka Backa

  • Bow Wow Wow

  • Doggie Doggie

  • Jack and Jill

  • I See the Moon

  • Rig a Jig Jig

  • Seesaw


The Lesson Plan

Warm Up Routine: 4 minutes

Active music time begins the very moment students show up for class. The teacher greets students at the door, leads the whole class in marching to a steady beat, and eventually the class ends up in a circle.

This lesson, students walk in to My Girl, performed by The Temptations. When they’re in a circle, students follow the teacher for the steady beat motions. At some point, different students take turns leading the class through other movement ideas.

Sing Greetings:

The melodic focus of the lesson is sol and mi, so that is included in our warm up routine. The teacher sings a greeting on sol and mi, and the class improvises answers. Listen to a few students improvise as an assessment if there is time.

Students often get a chance to perform individually in our warm up routine. I may listen to five to seven students per warm up activity (including melody and rhythm). I record their response as an assessment. Over the course of the whole year, this gives me an idea of how students are progressing through fundamental pitch and rhythm skills.

Rhythm Patterns:

The next item in the warm up routine is clapping patterns or body percussion patterns. The rhythmic focus of this a beat of silence, so the rhythm patterns will include that as well.

Since this is the lesson right before presenting standard notation for quarter rest, students will also have the option to copy the teacher’s pattern or improvise their own pattern.

The teacher claps a few patterns and motion for students to copy. Then, the teacher invites students to make up their own response to the pattern. Just like in the melodic sequence, a few students may share their ideas individually for an assessment.

The warm up sequence takes a long time to explain, but a short time to implement! This whole sequence takes about four minutes. You can read more about my warm up sequence here.

Transition: The teacher claps the rhythm of Acka Backa while students step to their spots in a steady beat.

Main Activities:

Acka Backa: 4 minutes

In their spots, students sing and point to steady beat hearts on the board.

Acka Backa Heartsldpi.jpg

Then, students clap the rhythm of the words while the teacher points to the steady beat hearts on the board. Students help dictate the rhythm of the song above the steady beat hearts.

Leave the beat without a sound blank.

Acka Backa Rhythm

Play the game!

Transition: The teacher claps the rhythm of I See the Moon. Students listen to whether or not the rhythm has a beat of silence in it, and give a thumbs up or thumbs down.


I See the Moon: 8 minutes

Students move in open space (spin like a planet, float in gravity, shimmer like a star, etc.) while singing the song.

Then, half the class moves to barred instruments while singing the song.

They make up a B section by improvising the rhythm of the song on any pitches in the pentatonic scale. As they improvise, the rest of the class moves in open space. Students switch jobs, so each half of the class has a chance to play instruments.

Transition: Students move to their spots. As they move, they sing I See the Moon and the teacher sings Bow Wow Wow.


Bow Wow Wow: 8 minutes

Students sing the song and play the game.

In a previous lesson, students came up with a physical silent motion to represent a beat of silence. Students sing the song using their chosen motion from last class.

Then the teacher asks, “How could you write your motion for a beat of silence so a friend could read it?”

Students help the teacher write the song in traditional notation on the board.

Bow Wow Wow Rhythm
Bow Wow Wow Quarter Rest Preparation

Using whiteboards, ipads, or paper and pencil, students copy the notation from the board and write their own ideas for a beat of silence.

A few students share their ideas on the board.

Teacher Talk: Sequencing

In the next lesson, students will learn the “real” name for a beat of silence. This activity gives me a sense of whether or not the class as a whole is ready for that next step.

Transition: The teacher sings directions to put writing materials away to the tune of Rig a Jig Jig.


Rig a Jig Jig: 3 minutes

After sitting down for a notation activity, it’s time to move again! This song is just for fun.

Transition: The teacher sings the melody to Seesaw on a neutral syllable. Students echo sing as they move back to their spots.


Seesaw: 4 minutes

Sing and move to sol and mi. Then, sing and create high and low movements with a partner.

Seated, the teacher sings the first half, and students read each response from the board.

 
Seesaw Sol and Mi Improvisation
 

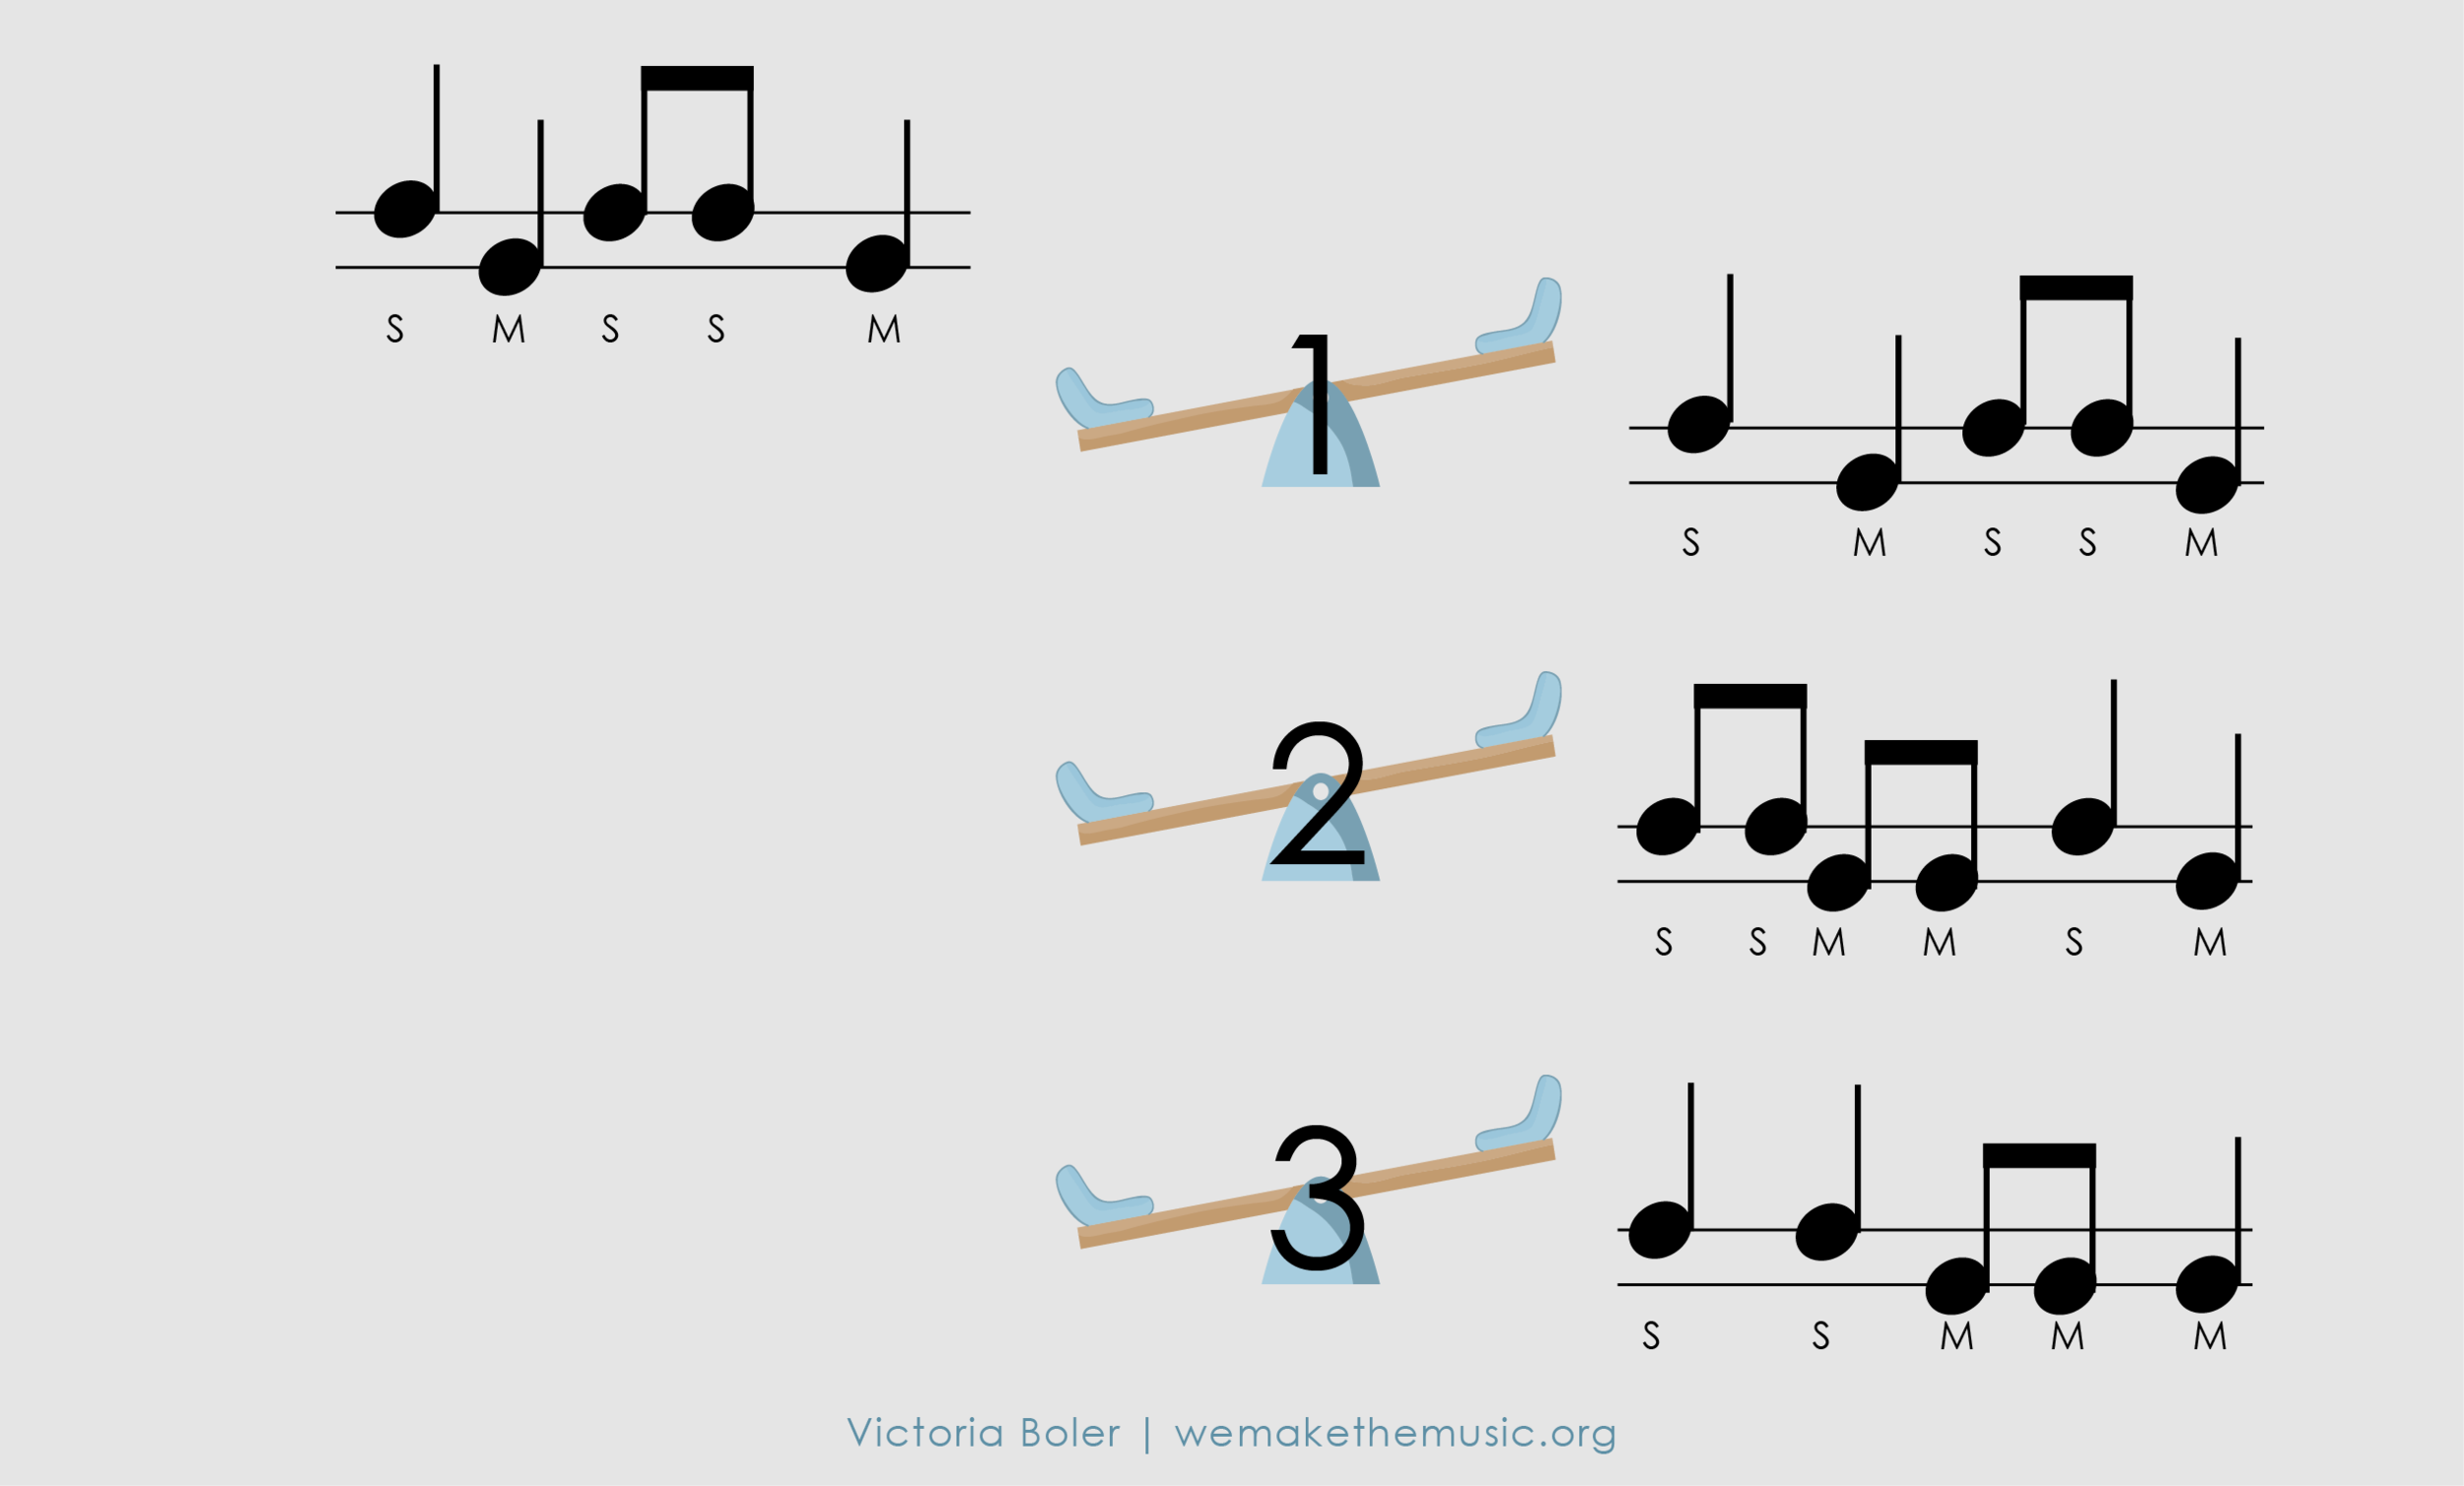
Then, students sing the first half and the teacher sings the response. Students show on their fingers which response the teacher sang.

Next, the teacher sings the first half and students sing any response they want.

Then, students choose one partner to sing the first half and one partner to sing the second half. They’ll switch jobs so everyone has a turn.

Teacher Talk: Practice and Assessment

This is the third time in The Planning Binder monthly plans that students have done this activity, so I feel comfortable taking individual student responses as an assessment. As students work with their partner, I walk around and listen to groups perform.)

Transition: The teacher changes the melody on the board to the opening of Jack and Jill. Students read using solfege syllables and hand signs.


Jack and Jill: 4 minutes

Students sing the song in their heads while acting out the story with a partner.

As they act out the story, the teacher writes the rest of the melody on the board but leaves a few pitches out.

 
Jack and Jill Sol and Mi Practice
 

With their partner, students figure out which beat is missing, and which pitch should live there. A few students come up to the board to fill in the missing pitches in standardized notation.

 
Jack and Jill Sol and Mi Practice 2ldpi.jpg
 

Students sing again on solfege while moving up and down with their partner.

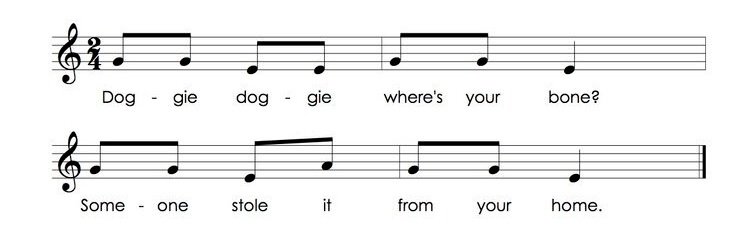
Transition: The teacher changes the notation to the first four beats of “Doggie Doggie.” Students sing on solfege and guess the song from three options on the board.

1st Grade General Music Transition

Doggie Doggie: 5 minutes

Students sing the song as they move to barred instruments.

Two partners sit behind each barred instrument. Both partners sing the song. Then, one sings, “Who stole my bone?” and the other plays an improvised answer using sol and mi.

Students switch so each partner gets a turn.

Transition: The teacher says, “I loved hearing all your improvisations! Let’s listen to two other people improvise. Their names are Ella Fitzgerald and Duke Ellington. Be ready to share something you noticed about the video with a partner”


Closing:5 minutes

Students move back to their spots while the song plays.

After the video, the teacher sings the book, This Jazz Man as students act out the instruments from their spots.

When it’s time to line up, the teacher continues singing the book as students move to the line.

When students are standing in line, they turn to a partner and share something they noticed about the video of Ella Fitzgerald and Duke Ellington.


Lesson Plan PDF

Click the images below to download this lesson as a PDF.

If you use any of the ideas in this lesson, I’d love to hear from you. You can find me on instagram (@victoriaboler), shoot me an email (victoria@wemakethemusic.org), or drop a comment below.

Beginning Unpitched Percussion in Early Elementary Music


“Hi, Victoria!
I’m looking for some resources to teach percussion instruments in kindergarten. Do you have any units about types of instruments like djembes, triangles, maracas, etc.?
Thanks!”


The short answer to this email is that I don’t teach percussion as its own unit. The long answer is this blog post, and the collection of activities at the end.

Let’s jump in!


Beginning Unpitched Percussion.jpg
 

The world of unpitched percussion is vast. Our collections range from finger cymbals to maracas to triangles to tambourines to hand drums. In such a large collection, it can be tricky to decide what instruments students should be able to play, especially in the early stages like Kindergarten and 1st grade.

This is my process for how I choose what instruments to introduce to young musicians, and at what time in my year.


Choosing Instruments for Young Musicians

When I choose classroom instruments for my students, I consider the musical purpose of the activity and where students might be in terms of physical development. That informs my options I give throughout each grade level and throughout each month of the year.

The Musical Purpose

When I look at my curriculum outline, scope and sequence, song lists, and concept plans, it is crystal clear to me which songs have been chosen with which specific musical concepts in mind. Because of these long-range plans, I can also be clear on the specific musical outcome I want students to achieve or explore.

Since these musical decisions come as a result of my curriculum outline, there is a natural place in the curriculum these instruments will be featured. This is true not only for Kindergarten, but for continuing grades as well.

That musical outcome drives the decision of what instruments to choose. What is the musical outcome? What are the sound properties of the instrument? Thinking through these questions gives me clarity.

For example, if I want each student to leave class with the kinesthetic experience of keeping a steady beat, I look for instruments that have a natural ability to maintain a consistent tempo. In this case, choosing a hand drum over a thunder tube makes sense.

If I want to explore metals, I consider whether I want something to be articulate or a wash of sound. This can guide my decision in using finger cymbals or jingle bell bracelets.

What is the musical outcome? What are the sound properties of the instrument? Thinking through these questions gives me clarity.


Physical Requirements:

Distance and Velocity:

Unpitched percussion success at this age has a lot to do with hand-eye coordination.

When they play unpitched percussion, students must make a judgement about the amount of space between the two objects that are to be struck together. They also need to decide the velocity, or how quickly they need to move in order to strike at the correct time.

When we consider these two factors - distance and velocity - we start to see some of the variables in a child’s experience playing an unpitched percussion instrument.

Physical Information:

Another consideration is how much control the student has over the playing process. Some instruments are naturally going to be more accessible in early playing experiences.

Here’s an example with three common kindergarten instrumental tasks: patting knees, playing a drum, and playing a triangle. Let’s imagine these students are working on performing a steady beat.

  • When we pat our knees to keep a steady beat, there are two sources of kinesthetic information: the palm of our hand, and the knee itself. Kinesthetic information from these two sources allow us to assess the tempo (where we land in time) and velocity (how hard we land) of the strike.

  • When we play a tubano, we remove half the kinesthetic information we were getting by patting our knees. There is no longer a sensation from the knee, so all the decisions must be made by sensations from the hand.

  • When we play a triangle, we remove any direct kinesthetic information about tempo and velocity.

These details seem minute, and in some ways they are. However, especially with young musicians developing their sense of steady beat, it’s helpful to consider the relationship between the task we are asking them to perform, and the amount of information we are allowing them to take in about that task.


Unpitched Percussion Sequence:

When I think through the musical purpose and physical parameters around unpitched percussion, a logical sequence for unpitched percussion instruments becomes clear.

This is based on my own scope and sequence for a “typical” kindergarten year.

After the initial experiences with the instruments below, we can explore the rhythmic concepts with other instruments. I don’t hold on too tightly to this sequence, but it serves as a helpful framework for how to structure the learning process.

In Kindergarten, rhythmic concepts include steady beat, fast and slow, long and short, rhythm of the words, and rhythm vs beat. The sequence below is designed to follow those formal rhythmic concepts.

  1. Body percussion: Pat, stamp, clap, snap

    • We have a lot of body percussion experiences before playing instruments, especially patting and stamping before steady beat or when working with fast and slow.

    • We do a lot of clapping and snapping before playing instruments for long and short, the rhythm of the words, and rhythm vs beat.

  2. Hand drums: Tubano, conga, djembe, frame drums on the lap or held by the teacher

    • Tubanos are by far my favorite unpitched percussion instrument! Here is the specific model I recommend.

    • I love that they can be used without a stand or tilting (like a djembe or conga) since they have feet at the bottom. This also impacts the sound quality since the sound can be full and resonant with the instrument just standing on the floor.

    • If I didn’t have access to tubanos, I would use frame drums. These are incredibly cost efficient and you can use them in so many different ways. For young students, it’s impractical to expect them to hold the instrument steady in one hand and accurately strike with the other during their first playing experiences. Because of this, I start frame drums on students’ laps, or I hold the drum while they play.

    • In early grades, hand drums nearly always have the job of keeping the steady beat. This is because the motion to play them so closely resembles patting.

  3. Woods: Rhythm sticks, temple blocks, wood blocks

  • In my classroom, rhythm sticks nearly always play the rhythm of the words in the early grades. The motion of playing rhythm sticks closely resembles the motion for clapping, so they become a natural next step.

  • Woods provide a sharp contrast in timbre from hand drums. The difference in timbre is incredibly effective when working on the difference between rhythm and beat.

Outside the sequence:

We play other unpitched percussion instruments in Kindergarten as well.

Jingle bells, tambourines, finger cymbals, maracas, and more make it into our musical experiences. It’s common for these to be used informally (like for a soundscape) more than formal rhythmic activities.

In these exploratory activities, students might search for the best way to make a sound on the instrument. I might challenge them to come up with three ways to safely make a sound, then share their ideas with a partner.

As I move through the curriculum in later grades, other unpitched percussion instruments will naturally be highlighted as they align with the musical purpose of an activity, and as students continue their physical development.


“Hi, Victoria!
I’m looking for some resources to teach percussion instruments in kindergarten. Do you have any units about types of instruments like djembes, triangles, maracas, etc.?
Thanks!”


I don’t approach unpitched percussion as its own isolated unit.

Rather, unpitched percussion experiences are naturally embedded into musical processes like singing, speaking, playing games, and improvising as another way to explore musical elements.


Unpitched Percussion Activities PDF

If you’re looking for specific activities that are musically purposeful and developmentally appropriate, I’ve collected a few of my favorites in the PDF below.

When you download, you’ll also be signed up to get more resources like this one from time to time. I only send emails that I would be thrilled to get myself!